AC Not Turning On? 8 Troubleshooting Tips to Get Cool Again
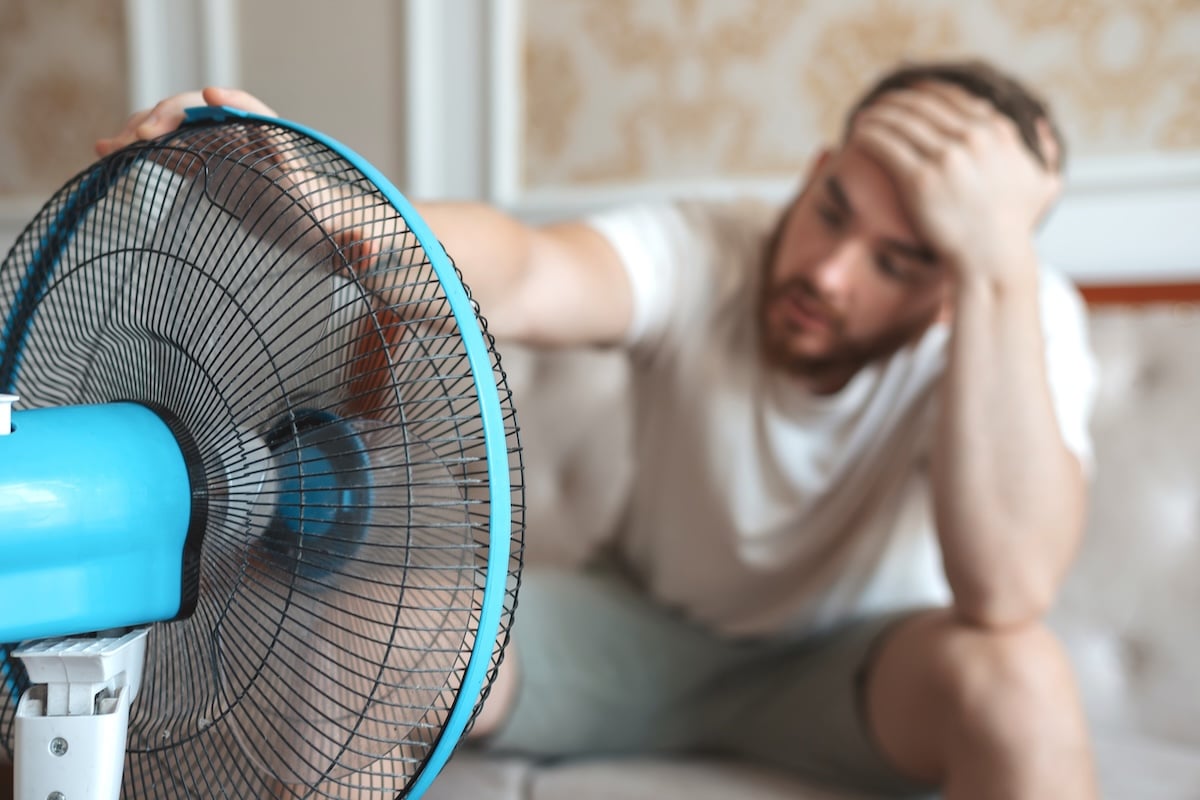
When your air conditioner refuses to turn on during a sweltering Florida summer, panic can set in quickly. You’re facing rising temperatures, uncomfortable humidity, and the urgent need to restore comfort to your home. Before you assume the worst or call for emergency repairs, there are several troubleshooting steps you can take to potentially resolve the issue yourself.
This comprehensive guide will walk you through the most common reasons why is your AC not turning on and provide you with practical solutions to get your system running again. We’ll cover everything from simple fixes you can handle in minutes to more complex issues that require professional attention. By following these troubleshooting tips, you may save yourself time, money, and the discomfort of waiting for a repair technician. Here’s what we’ll cover:
- Common reasons your AC won’t turn on
- 8 essential troubleshooting tips for AC not turning on
- When to call professional HVAC technicians
- Preventing future AC startup problems
⭐️ Common Reasons Your AC Won’t Turn On
Understanding why your air conditioning system fails to start is the first step in resolving the problem. Several factors can prevent your AC from turning on, ranging from simple power issues to more complex mechanical failures.
Power-related problems are often the culprit when your AC not turning on becomes a frustrating reality. These issues can stem from tripped circuit breakers, blown fuses, or problems with your home’s electrical supply. Additionally, thermostat malfunctions, dirty air filters, and faulty capacitors frequently cause startup failures.
Refrigerant leaks, frozen evaporator coils, and blocked condensate drains can also prevent your system from operating properly. Weather-related damage, age-related wear and tear, and lack of regular maintenance contribute to these mechanical issues that require professional diagnosis and repair.
Key Safety Tips to Remember
- Always turn off power at both the thermostat and the main electrical panel.
- Wait at least 30 minutes before starting to ensure capacitors are discharged.
- Use a flashlight for better visibility in dark areas.
- Avoid working on your AC unit in wet weather.
- Stop immediately and call a professional if you smell gas, hear strange noises, or see electrical damage.
💡 8 Essential Troubleshooting Tips for AC Not Turning On
When your AC won’t turn on, it can be frustrating and uncomfortable, especially during hot weather. Knowing essential troubleshooting tips can save you time, money, and keep your home cool.
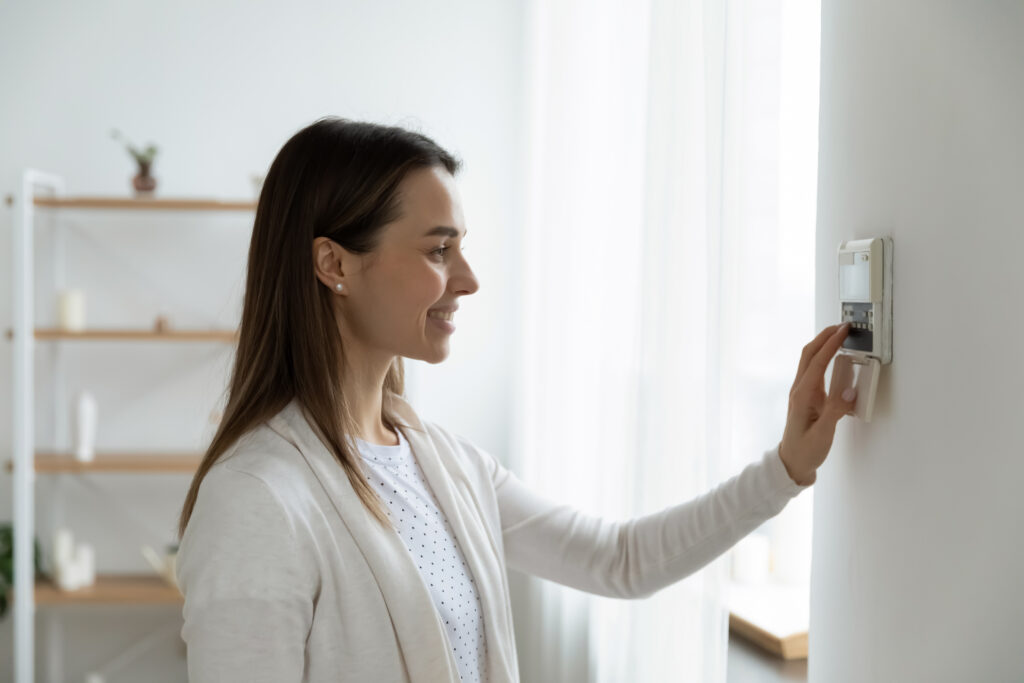
1. Check Your Thermostat Settings
Start with the most basic check by examining your thermostat settings. Ensure the thermostat is set to “cool” mode rather than “heat” or “off.” Verify that the temperature setting is lower than the current room temperature, as your AC won’t turn on if the desired temperature is higher than the ambient temperature.
Replace the batteries in your thermostat if it’s battery-powered, as weak batteries can prevent proper communication with your AC system. Check that the thermostat display is functioning normally and showing accurate temperature readings. If the display is blank or showing error messages, this indicates a thermostat problem that may require professional attention.
2. Inspect Your Circuit Breaker and Electrical Connections
Locate your home’s electrical panel and check if the circuit breaker for your air conditioning system has tripped. A tripped breaker will be in the middle position between “on” and “off.” Reset the breaker by switching it fully to the “off” position, then back to “on.”
Examine the electrical connections at your outdoor unit for any visible damage, loose wires, or signs of burning. Look for the electrical disconnect switch near your outdoor unit, which should be in the “on” position. If you continue experiencing electrical issues after resetting the breaker, contact a qualified electrician as this may indicate a more serious electrical problem.
3. Replace or Clean Your Air Filter
A severely clogged air filter can cause your AC system to shut down as a protective measure. Locate your air filter, which is typically found in the return air duct, air handler, or near the indoor unit. Remove the filter and hold it up to a light source to check for blockages.
Replace disposable filters with new ones of the same size and MERV rating, or clean reusable filters according to manufacturer instructions. Install the clean or new filter with the airflow arrow pointing toward the air handler. A clean filter allows proper airflow and helps prevent system strain that can lead to shutdowns.
4. Examine the Condensate Drain
Air conditioners produce condensation that must drain away properly to prevent system shutdowns. Locate the condensate drain line, which is typically a PVC pipe near your indoor unit. Check for standing water around the unit or signs of water damage that indicate drainage problems.
Clear any visible blockages from the drain opening using a wet/dry vacuum or by pouring a small amount of distilled white vinegar down the drain. Ensure the drain pan under your indoor unit is not overflowing, as many systems have safety switches that prevent operation when water levels are too high.
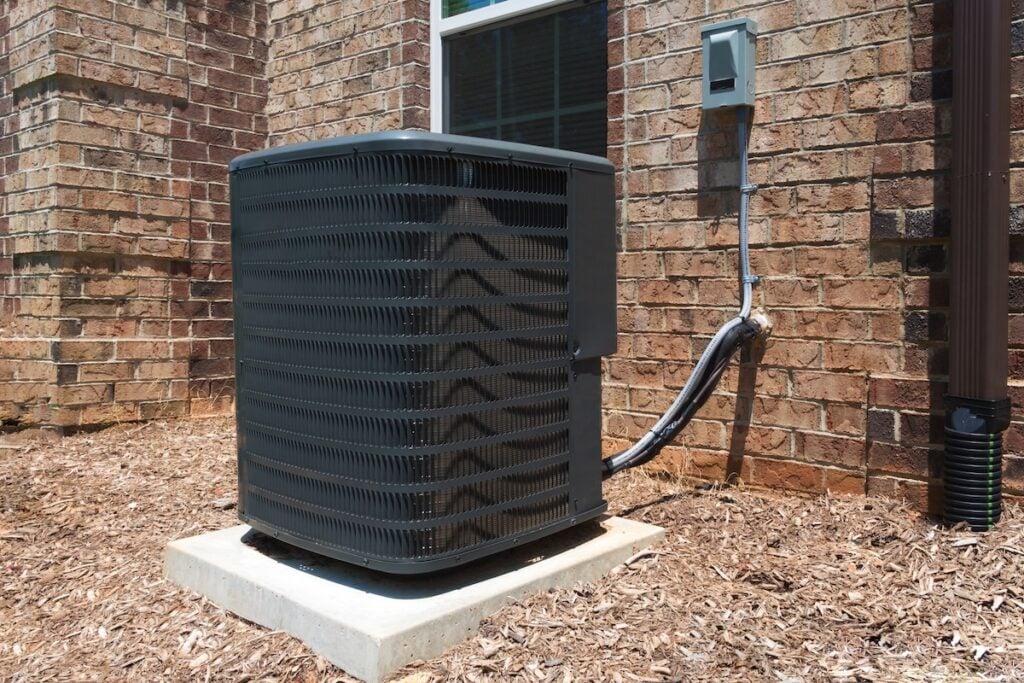
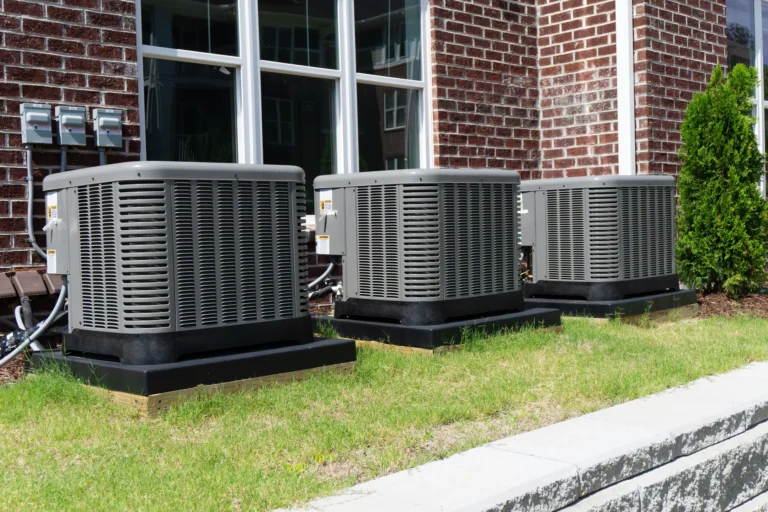
5. Check the Outdoor Unit for Obstructions
Your outdoor condenser unit needs adequate airflow to function properly. Remove any debris, leaves, grass clippings, or other materials that may have accumulated around the unit. Trim vegetation to maintain at least two feet of clearance on all sides of the outdoor unit.
Inspect the condenser coils for dirt buildup or damage, and gently clean them with a garden hose if necessary. Ensure nothing is blocking the fan or preventing it from spinning freely. A blocked outdoor unit can cause the system to overheat and shut down for protection.
6. Test the Capacitor Function
The capacitor provides the electrical boost needed to start your AC’s motors. Signs of a faulty capacitor include a humming sound from the outdoor unit without the fan or compressor starting, or visible swelling and leaking from the capacitor itself.
Exercise extreme caution when inspecting the capacitor, as it stores electrical energy even when the power is off. Look for obvious signs of damage such as bulging, leaking, or burnt connections. Capacitor replacement requires specialized knowledge and tools, so contact a professional technician if you suspect capacitor problems.
7. Verify Proper Refrigerant Levels
Low refrigerant levels can prevent your AC from starting or cause it to shut down shortly after starting. Signs of refrigerant issues include ice formation on the evaporator coils, reduced cooling performance, and hissing sounds from the refrigerant lines.
Refrigerant problems require professional diagnosis and repair, as handling refrigerant requires specialized equipment and EPA certification. If you suspect refrigerant leaks, turn off your system and contact an HVAC technician immediately to prevent further damage to your compressor.
8. Inspect for Frozen Components
Frozen evaporator coils can trigger safety switches that prevent your AC from turning on. Signs of frozen components include ice on the indoor or outdoor coils, reduced airflow, and water around your indoor unit as ice melts.
If you discover frozen components, turn off your system and allow the ice to melt completely before attempting to restart. Address the underlying cause of freezing, which may include dirty filters, blocked airflow, low refrigerant, or thermostat problems. Never attempt to remove ice manually, as this can damage delicate coil fins.
🏡 When to Call Professional HVAC Technicians
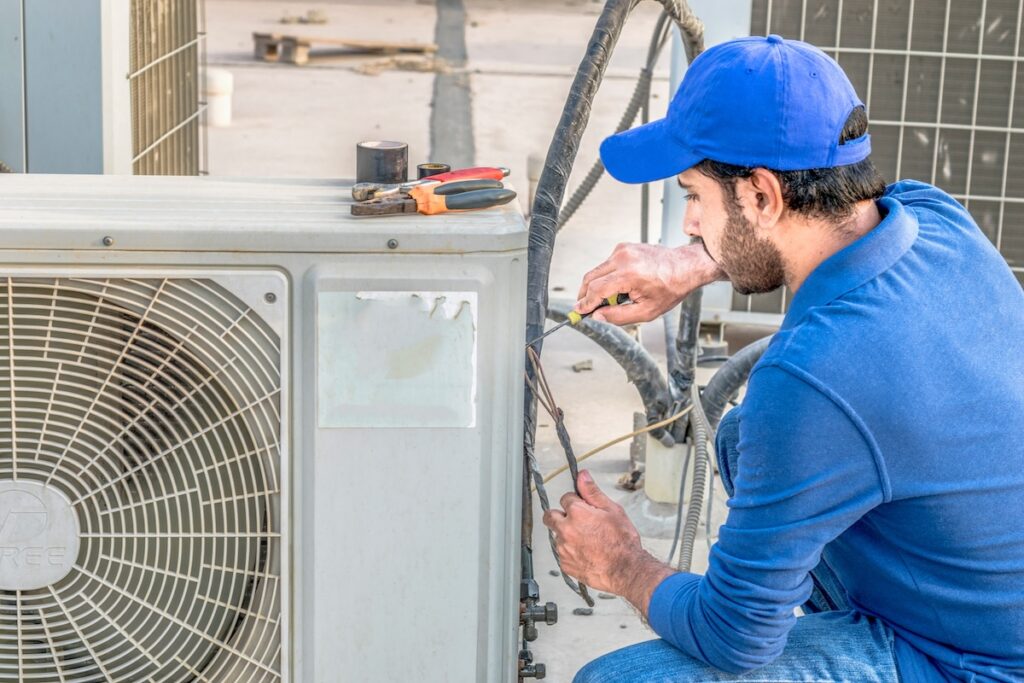
While many AC startup problems can be resolved through basic troubleshooting, certain situations require professional expertise.
When to Call an HVAC Technician
If you notice a gas smell, electrical damage, or unusual sounds like grinding or squealing coming from your system, it’s time to contact a professional. These are signs of serious issues that require expert attention to ensure your safety and prevent further damage.
Common Complex Issues Requiring Expertise
Problems such as compressor failure, refrigerant leaks, electrical wiring issues, and control board malfunctions are best left to trained technicians. These issues require specialized tools and knowledge to diagnose and repair properly, ensuring the system operates safely and efficiently.
When Troubleshooting Isn’t Enough
If your AC repeatedly shuts down after restarting or your own troubleshooting efforts don’t resolve the issue, professional help is necessary. Persistent shutdowns can indicate deeper problems that only a technician is equipped to address.
Risks of DIY Repairs
Attempting complex repairs without proper training can lead to expensive damage, safety concerns, and voided warranties. Without the right expertise, you may unintentionally make the problem worse or create hazards.
Why Hire a Professional
Certified HVAC technicians have the tools and experience to accurately identify problems and provide reliable solutions. Their expertise ensures your air conditioning system is repaired safely and effectively, restoring comfort and peace of mind.
🛠️ Preventing Future AC Startup Problems
Regular maintenance is the most effective way to prevent your AC from experiencing startup problems.
Schedule Annual Professional Tune-Ups
Arrange for professional HVAC tune-ups annually before the cooling season begins. This helps identify and fix potential issues early, preventing costly breakdowns and ensuring your system runs smoothly when you need it most.
Change Air Filters Regularly
Replace air filters as recommended by the manufacturer, typically every 1-3 months depending on your system’s usage and the filter type. Clean filters improve airflow, reduce strain on the system, and maintain good indoor air quality.
Keep the Outdoor Unit Clean
Check your outdoor unit regularly to clear away debris such as leaves, dirt, and grass. Ensure there’s proper clearance around the unit to allow adequate airflow, which is essential for efficient performance.
Monitor System Performance
Keep an eye on how your HVAC system operates, including unusual noises, reduced airflow, or inconsistent temperatures. Addressing small issues early can prevent them from turning into costly repairs.
Trim Vegetation and Protect the Unit
Regularly trim trees, shrubs, or other vegetation around the outdoor unit to maintain clearance and airflow. During severe weather, take precautions to protect the unit from damage, such as placing a cover or shield.
Benefits of Regular Maintenance
Performing regular maintenance not only avoids system failures but also improves energy efficiency, ensures consistent performance, and extends the lifespan of your HVAC system, saving you money in the long run.
👨🔧 Trust Bob’s Air Conditioning for Reliable AC Repair
When your AC won’t turn on, it can quickly disrupt your comfort—especially in Florida’s relentless heat. That’s why you need a team you can count on to diagnose and fix the issue quickly, safely, and effectively. At Bob’s Air Conditioning, we bring over 40 years of experience, fully licensed and insured technicians, and a commitment to honest, high-quality service. Whether it’s a minor repair or a major breakdown, our team works around the clock to restore your cooling without extra charges for nights or weekends.
With transparent pricing, comprehensive warranties, and a customer-first approach, you can trust us to keep your home cool and your experience stress-free. Don’t let AC troubles leave you sweating—call Bob’s Air Conditioning today to schedule your service and get back to enjoying your home in total comfort!
Ultimate Comfort Awaits