How To Install Smart Thermostat (Step-by-Step)
Upgrading your home’s climate control with a how to install smart thermostat guide can transform your comfort and energy efficiency. Smart thermostats offer intuitive temperature management, Wi-Fi connectivity, and remote control features that a traditional thermostat cannot match. Whether you want to reduce utility bills or improve your home’s automation, knowing how to properly install a smart thermostat is crucial. For those considering an upgrade, understanding the installation process can save money and reduce installation time. If you’re interested in professional air conditioning solutions, exploring the air conditioning services provided can complement your smart thermostat setup.
- Discover essential tools and preparation steps before installation.
- Learn the detailed step-by-step instructions to install your smart thermostat.
- Understand important safety tips and troubleshooting advice.
- Gain insights on optimizing your smart thermostat after installation.
Why Knowing How To Install Smart Thermostat Matters
Installing a smart thermostat yourself does more than just upgrade your equipment; it gives you control over your home’s energy usage and comfort. With smart thermostats increasingly becoming a staple in modern homes, understanding the installation procedure ensures a smooth transition from old systems to smarter solutions. Without proper installation, you risk saving less energy or even damaging your HVAC system.
- Cost savings: Avoid professional installation fees by doing it yourself with confidence.
- Energy efficiency: Proper setup ensures your HVAC system runs optimally.
- Customization: Tailor your thermostat to fit your lifestyle and schedule.
- Self-reliance: Troubleshoot and manage your system without waiting for technicians.
- Compatibility check: Ensure your HVAC system works seamlessly with your chosen smart thermostat.
7 Essential Steps for How To Install Smart Thermostat
Installing a smart thermostat may seem complex initially, but following these clear, organized steps can make it manageable for most homeowners with basic tools and knowledge. Here is a sequential guide that covers everything from preparation to final testing.
1. Gather the Necessary Tools and Information
Before beginning, assemble all required tools to simplify the installation process.
- Tools needed: Screwdriver, drill, voltage tester, wire stripper, level, and your smart thermostat manual.
- Check power status: Confirm your HVAC system voltage to ensure compatibility.
- Identify wiring: Locate your existing thermostat wiring and take photos for reference.
2. Turn Off Power to Your HVAC System
Safety is paramount. Switch off power at the breaker box to prevent electrical shock or damage during installation.
- Confirm power off: Use a voltage tester to ensure no current flows to the thermostat wires.
- Label wires: Mark each wire with the included stickers or tape for easy reconnection.
3. Remove the Old Thermostat
Carefully detach the old thermostat from your wall, ensuring you do not damage the wiring.
- Unscrew base plate: Remove screws securing the old thermostat in place.
- Disconnect wiring: Gently pull wires free, keeping their labels in place for reference.
4. Mount the Smart Thermostat Base
Attach the new base plate securely and align it properly for optimal sensor accuracy.
- Use the level: Ensure the base is straight on the wall.
- Drill if necessary: Make small anchor holes for mounting screws in drywall or plaster.
5. Connect the Wires to the New Thermostat
Match and insert the labeled wires to their corresponding terminals on the smart thermostat base.
- Refer to manual: Follow the wiring diagram provided with your device.
- Secure connections: Tighten terminal screws without overtightening to avoid wire damage.
6. Attach the Thermostat Display and Restore Power
Snap on the thermostat’s display screen and turn the power back on to the HVAC system to begin setup.
- Check for startup: The display should light up and prompt you for configuration steps.
- Confirm power: Verify the HVAC system responds to the new thermostat commands.
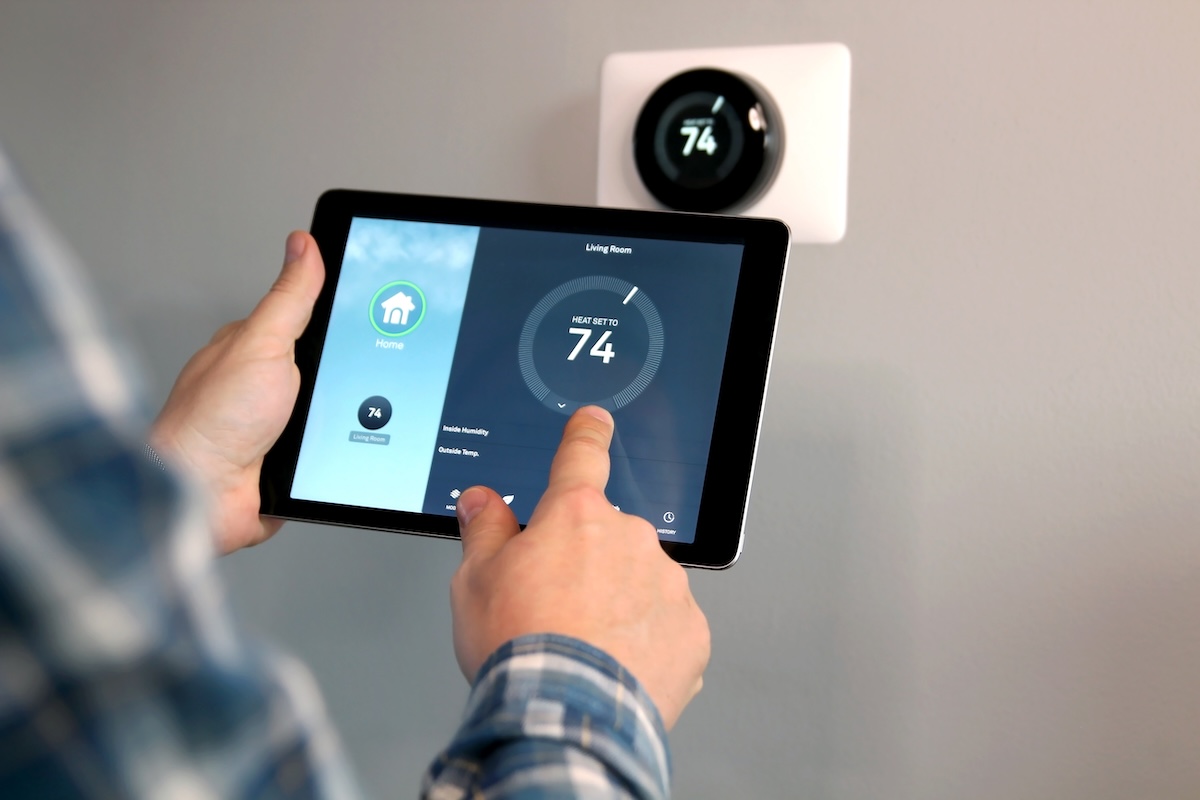
7. Configure Your Smart Thermostat Settings
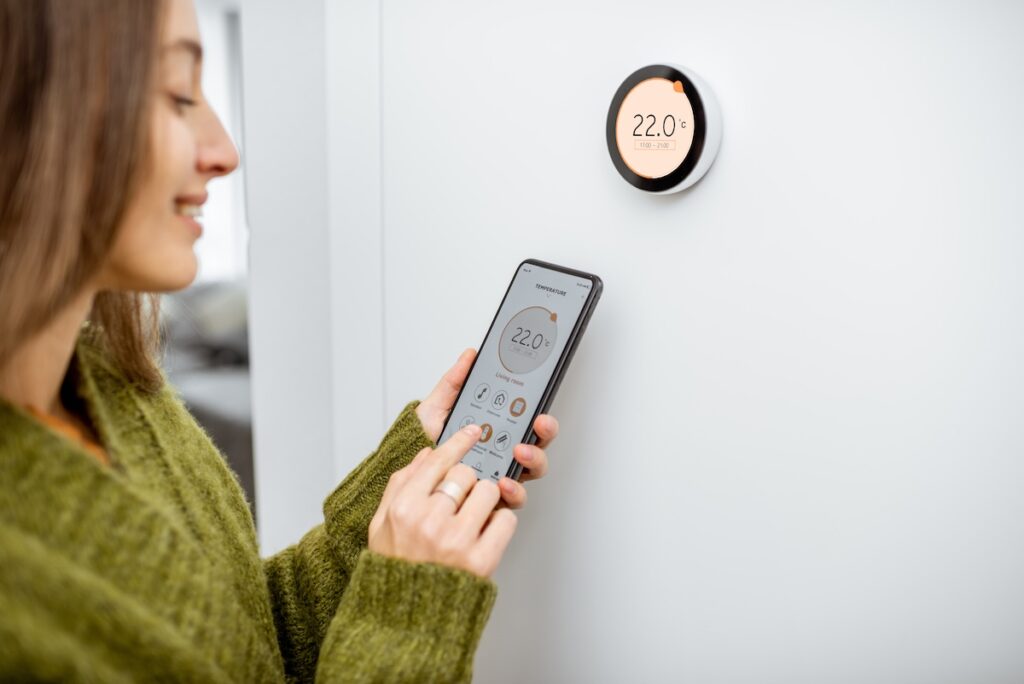
Connect the thermostat to your Wi-Fi network and customize preferences through the app or on-device interface.
- Set your schedule: Program temperature changes based on daily patterns.
- Enable features: Use geofencing, energy reports, and voice integration where applicable.
Common Challenges and How To Troubleshoot Installation Issues
Even with careful preparation, issues can arise during installation. Understanding typical problems and how to resolve them helps ensure a successful setup and smooth operation.
Dealing With Compatibility Problems
Some HVAC systems require a C-wire (common wire) for continuous power. Lack of this wire could result in thermostat malfunctions.
- Solution: Use a C-wire adapter or consult your thermostat’s compatibility guide before purchase.
Electrical Issues and Safety Tips
Incorrect wiring can lead to short circuits or damage.
- Tip: Always double-check connections and turn off power during any wiring changes.
- Use professional help if unsure.
Wi-Fi Connection Fails
Connectivity problems can prevent full smart thermostat functionality.
- Check signal strength: Position your router closer or consider a range extender.
- Restart devices: Sometimes rebooting the thermostat and router resolves network glitches.
Inaccurate Temperature Readings
Improper placement or calibration leads to inconsistent readings.
- Place thermostat: Avoid direct sunlight, drafts, or near heat-producing appliances.
- Calibrate sensors: Follow the device’s instructions to fine-tune temperature sensing.
Post-Installation Tips to Maximize Your Smart Thermostat’s Potential
After installation, optimizing the settings and features of your new smart thermostat helps you realize energy savings and enhances your home’s comfort.
- Regularly Update Your Device Software: Manufacturers often release updates that improve performance and security. Ensuring your thermostat’s software is current is essential.
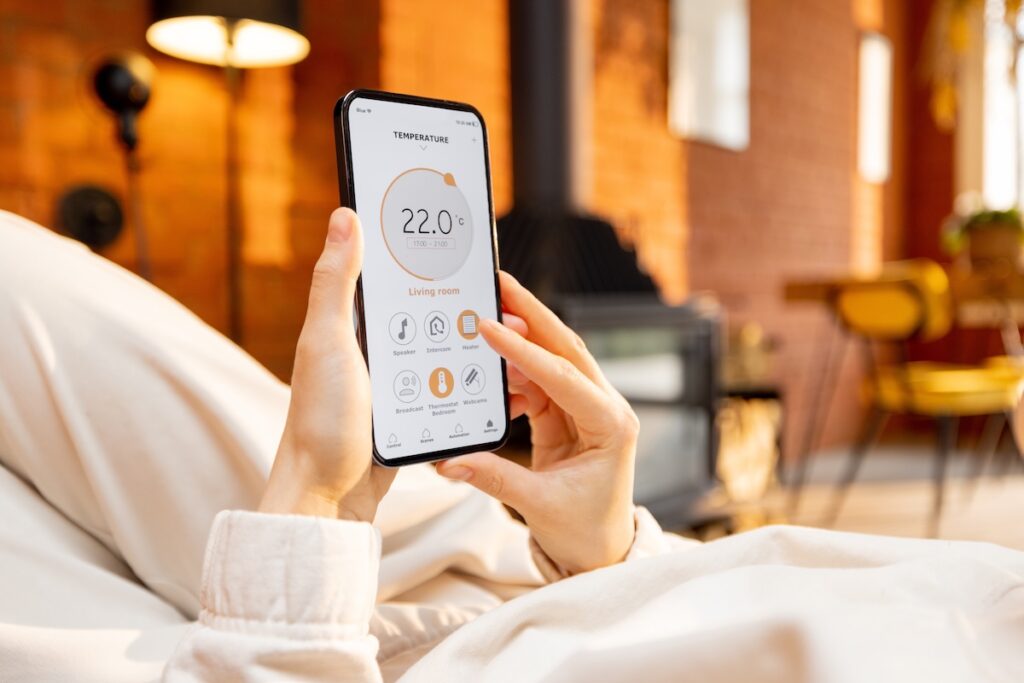
- Utilize Energy Reports and Scheduling Features: Many models provide detailed usage reports; use these to adjust settings and lower energy consumption.
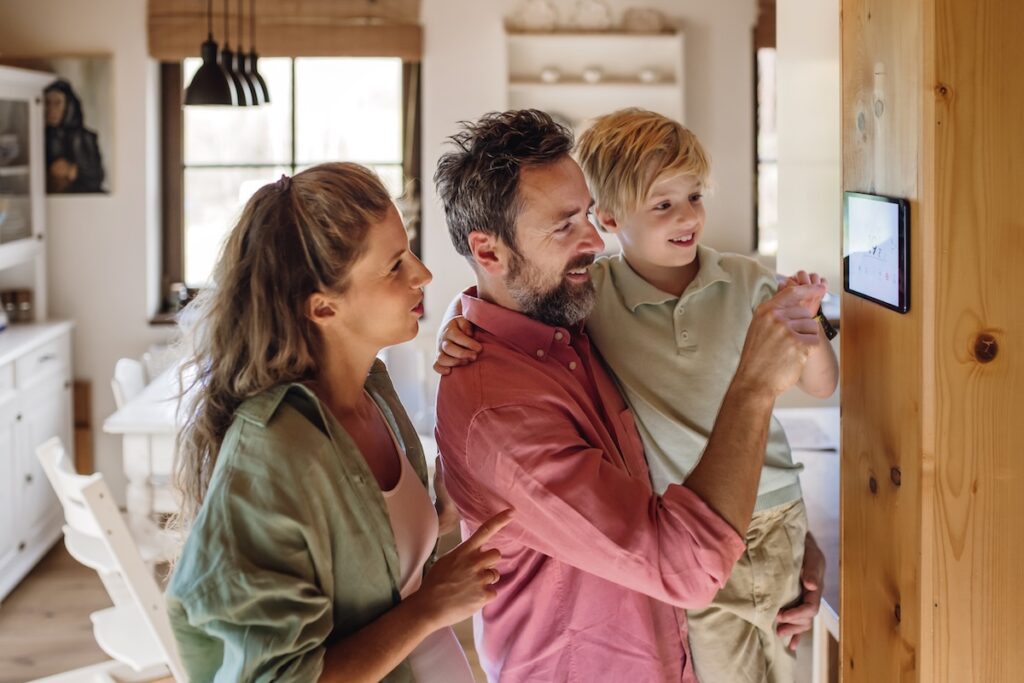
- Integrate With Smart Home Systems: Link your thermostat with voice assistants such as Alexa or Google Home for hands-free control and enhanced convenience.
- Seasonal Adjustments: Modify temperature schedules according to seasonal changes to maintain comfort without waste.
Frequently Asked Questions About Installing a Smart Thermostat
Here are some common questions homeowners have when installing a smart thermostat, with concise answers to guide you.
| Is it difficult to install a smart thermostat myself? | Most smart thermostats are designed for DIY installation, especially if you have basic electrical skills and follow the instructions carefully. |
| What should I do if my HVAC system doesn’t have a C-wire? | You can use a C-wire adapter included with many thermostats or seek professional installation to add one. |
| Can I install a smart thermostat in any home? | Nearly all modern HVAC systems support smart thermostats, but it’s critical to check compatibility with your specific system. |
| How long does the installation typically take? | Installation usually takes about 30 to 60 minutes, depending on complexity and system type. |
| Do I need to recalibrate after installation? | Some models automatically calibrate, but manual calibration may be necessary to ensure accurate temperature sensing. |
Start Your Smart Thermostat Installation Journey Today
Understanding how to install smart thermostat empowers you to take control of your home’s heating and cooling efficiency. By following the steps and tips outlined above, you can successfully set up your smart thermostat and begin enjoying optimized comfort and energy savings right away. If you need expert assistance or customized air conditioning solutions in Greenville and surrounding areas, do not hesitate to contact us today at Bob’s AC for professional support tailored to your needs.
Ultimate Comfort Awaits