How to Remove Mold in Air Ducts (Causes, Process & Prevention)
One of the most important maintenance routines of your HVAC system is the cleaning of mold in air ducts. Making sure your ductwork is working correctly will prevent it from wreaking havoc on your home, health, and comfort. Whether you’ve noticed a musty smell or suspect something is amiss with your heating, addressing mold growth promptly is critical.
A clean, mold-free system ensures that the air you breathe is fresh and healthy. By taking a proactive approach to your mold in air ducts problem, you’ll not only protect your home but also create a safer and more comfortable living environment for everyone.
Key Takeaways
- Why it’s a problem: Mold in air ducts compromises air quality and can lead to health issues.
- The 6-Step Guide: The post provides a detailed, 6-step guide on how to safely and effectively remove mold from your ductwork.
- Prevention is Key: After cleaning, essential tips include controlling humidity and checking for leaks to prevent future growth.
- Professional Help: For complex mold in air ducts issues, professional services are the safest and most effective solution.
- Comprehensive Services: Bob’s Air Conditioning offers expert mold remediation and a full range of HVAC services for a clean and efficient system.
What Causes Mold to Form in Air Ducts?
Mold in air ducts can be a serious issue, not just for your HVAC system but also for the quality of air in your home or office. Left unchecked, mold can spread quickly, affecting your health and the efficiency of your system. Understanding the root causes of mold formation is the first and most important step in addressing and preventing these problems. Mold thrives in environments where moisture, warmth, and organic matter come together, and air ducts can often provide the perfect conditions for this. Here’s why mold could be forming in your air ducts:
- Moisture buildup from leaks, poor drainage, or high humidity creates a breeding ground for mold.
- Poor ventilation prevents proper drying, allowing mold spores to spread.
- Dirty air filters trap contaminants that circulate and encourage mold growth.
- Temperature fluctuations cause condensation, leading to potential mold development.
6 Step Guide to Removing Mold in Air Ducts
Once mold in air ducts is detected, taking immediate action prevents the issue from escalating. Here’s a detailed, step-by-step breakdown of the process.
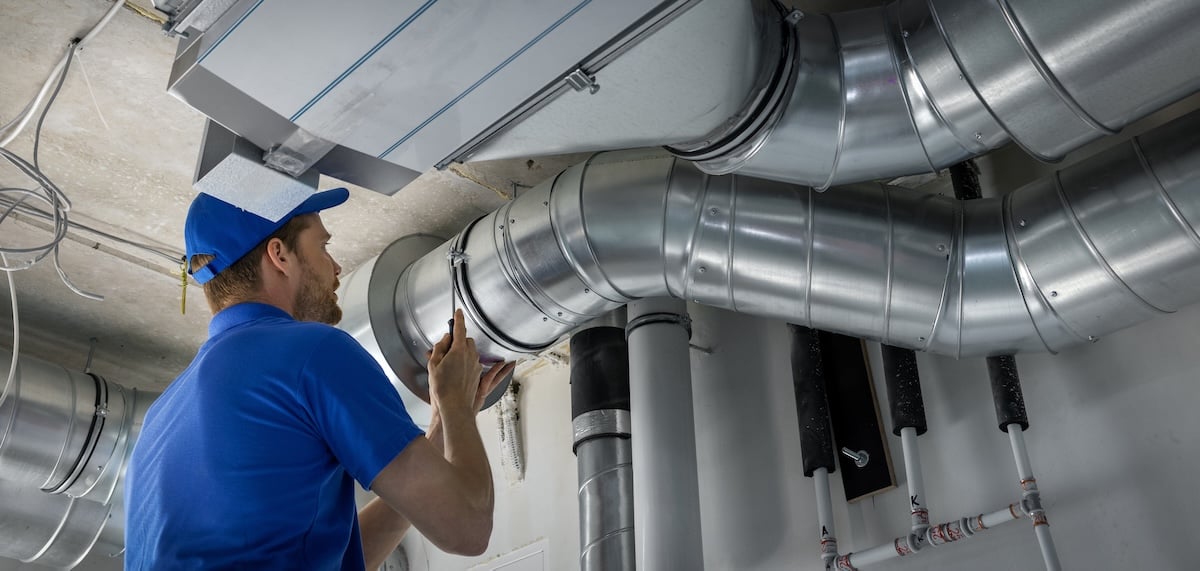
1. Turn Off Your HVAC System
The first step when cleaning mold in air ducts is to turn off your heating and cooling system. This is a critical step to prevent any mold spores from being circulated throughout your home while you clean. The HVAC system, if left on, can easily blow spores into other areas, making the problem worse. By keeping the system off, you ensure that the spores stay contained and the cleaning process becomes more effective.
2. Gather Your Cleaning Supplies
Before you begin the cleaning of the air ducts process, it’s important to gather all the necessary supplies. Make sure you have protective gear, such as gloves, goggles, and a mask, to protect yourself while handling mold. You’ll need a scrub brush or a sponge to clean affected surfaces, and a mold-specific cleaning solution is highly recommended. If you can’t find a mold cleaner, a mixture of water and mild detergent will work as an alternative. Additionally, a HEPA vacuum cleaner is essential for removing any lingering spores, and you should have plenty of disposable rags or paper towels on hand to assist in the cleanup. Having everything ready will make the process smoother and more efficient.
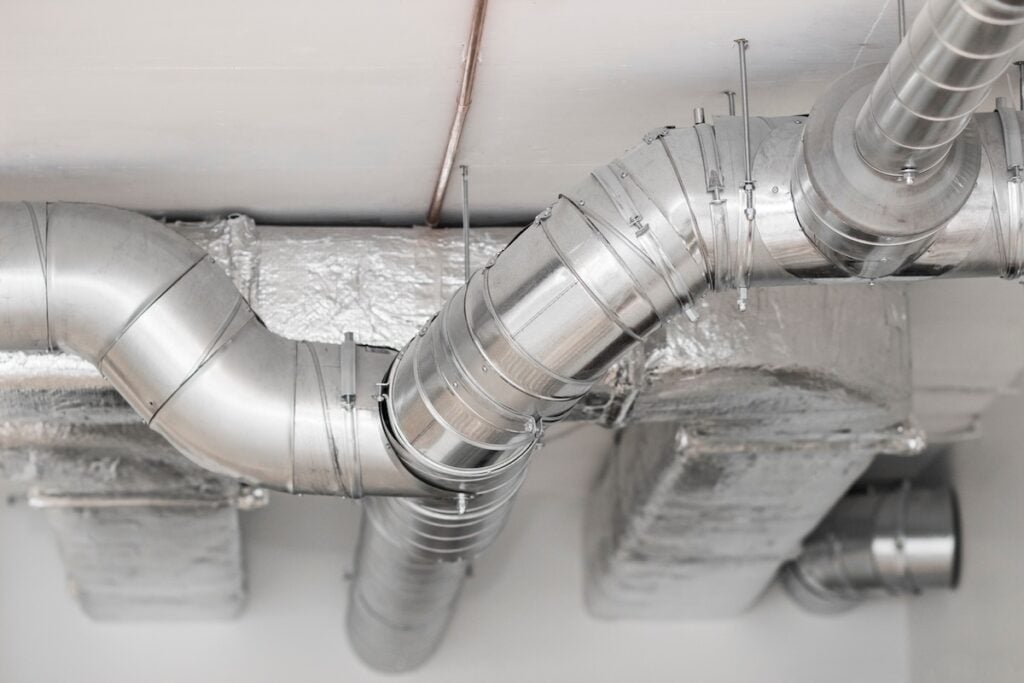
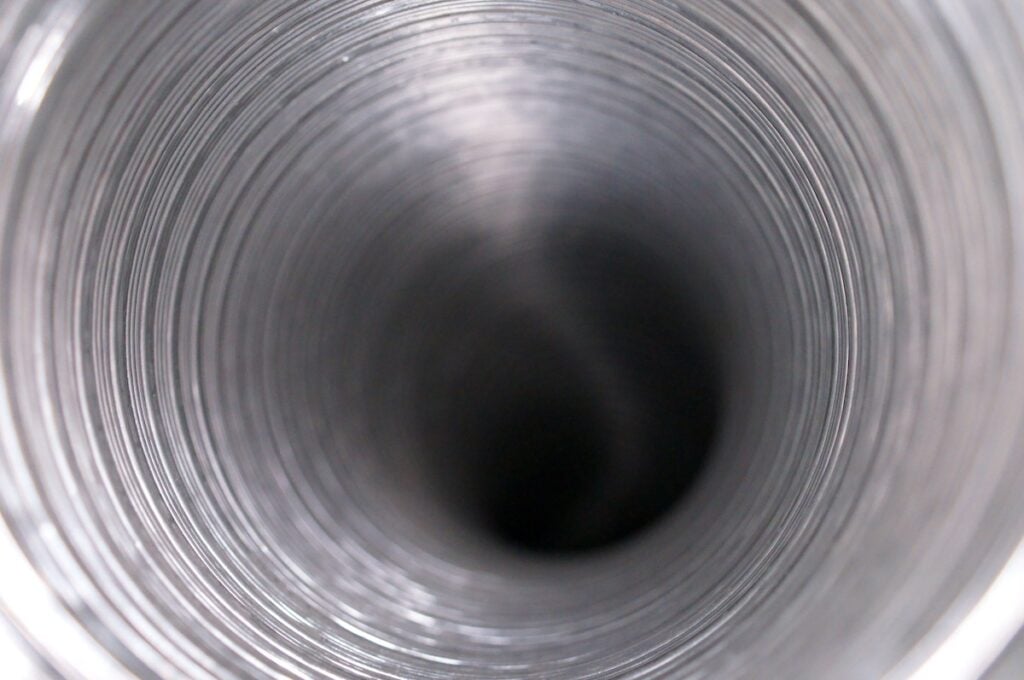
3. Inspect Ducts for Mold Growth
Before you start the cleaning of mold in air ducts, thoroughly inspect your ductwork for mold. Look carefully at all visible sections of the system, including vents and registers, for any signs of growth. Mold often appears in damp, dusty, or discolored areas, so pay close attention to these spots. Identifying all areas affected by mold is essential to focus your cleaning efforts where they’re needed most. This step ensures you won’t miss any problem areas and helps prevent the mold from returning.
4. Scrub Surfaces
Once you’ve identified the areas with mold, it’s time to start cleaning. Take your scrub brush or sponge and apply the cleaning solution to the affected areas. Scrub thoroughly to remove all visible mold. Be meticulous in your cleaning to ensure every mold spot is treated. After scrubbing, dispose of any used disposable items, such as rags or paper towels, immediately. Seal them in a bag before discarding them to prevent the spread of mold spores to other parts of your home. This step is key to eliminating mold in air ducts and the entire HVAC system effectively.
5. Vacuum Residue and Spores
After scrubbing the surfaces, use a HEPA vacuum cleaner to remove any remaining spores and residues from the ducts. HEPA vacuums are designed to trap even the smallest particles, ensuring that mold spores don’t recirculate into your home’s air. Carefully vacuum all the cleaned areas, paying extra attention to corners and crevices where spores may still linger. This step ensures that no debris is left behind and helps to maintain a clean and mold-free environment.
6. Dispose of Cleaning Materials Safely
Once the cleaning process is done, properly dispose of all used materials to avoid spreading any mold spores. Seal the used rags, gloves, and any other disposable items in a bag before discarding them in the trash. This helps contain the spores and prevents them from contaminating other areas. After disposing of the materials, wash your hands thoroughly and clean all tools and equipment used during the process. This final step is essential to ensure your work area and home remain safe and free from residual mold.
Prevention Tips to Avoid Mold In Air Ducts
After assuring the cleaning of the mold in air ducts is completed, preventing future growth should be your top priority. Here’s how you can keep your air ducts mold-free:
1. Control Humidity Levels
Keeping indoor humidity in check is crucial to prevent mold growth and maintain air quality. Ideally, indoor humidity should be between 30% and 50%. High humidity can create a breeding ground for mold, mildew, and other allergens. If you live in a high-humidity climate, consider investing in a dehumidifier to help regulate moisture levels. Additionally, using exhaust fans in areas like bathrooms, kitchens, and laundry rooms can help reduce excess humidity from daily activities.
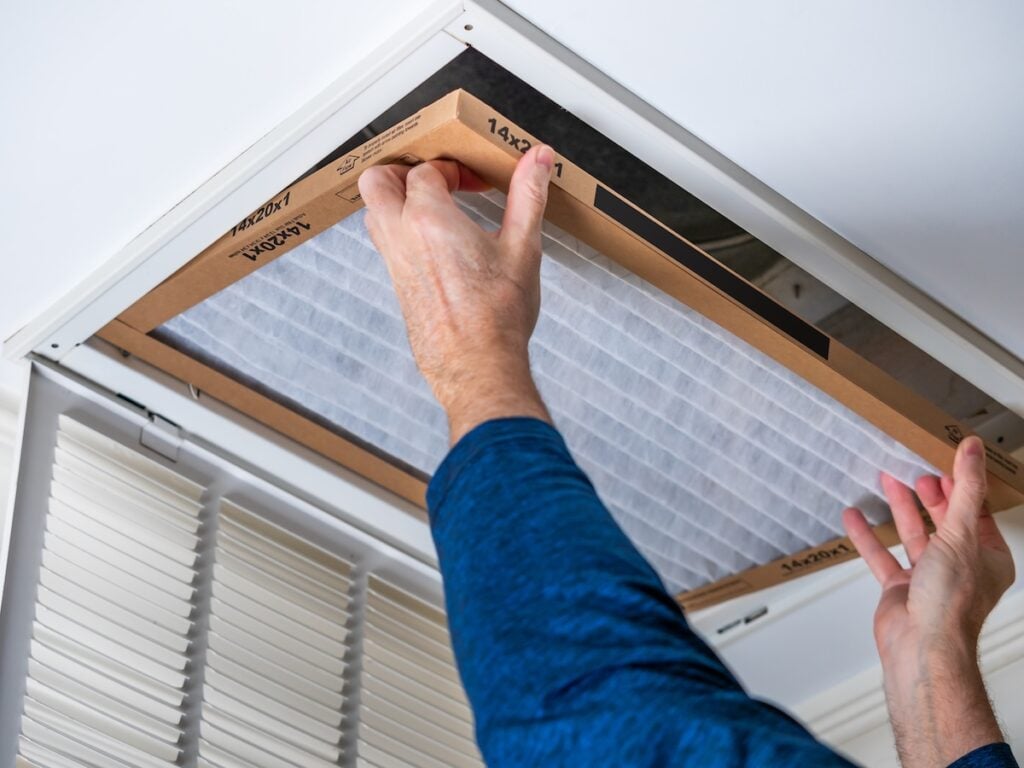
2. Clean and Replace Air Filters Regularly
Air filters play a significant role in maintaining clean indoor air quality by trapping dust, mold spores, and other airborne particles. To keep your HVAC system running efficiently and improve air quality, replace or clean your air filters based on the manufacturer’s recommendations, typically every 1–3 months. Neglecting this task can lead to clogged filters, reduced airflow, and recirculation of pollutants, potentially exacerbating allergies and respiratory issues.
3. Ensure Proper Ventilation
Proper ventilation is essential to ensure fresh, clean air circulates throughout your home or office. Blocked or obstructed vents can cause poor airflow and lead to stagnant air that collects dust and allergens. Make sure furniture or other objects don’t block vents, and consider having your ductwork inspected regularly by professionals. Proper ventilation not only improves air quality by preventing the growth of mold in air ducts, but can also enhance the performance of your HVAC system.
4. Check for Leaks
Excess moisture caused by leaks in your HVAC system or ductwork can lead to the growth of mold in air ducts and the entire HVAC system, causing air quality issues. Regularly inspect your system, including ducts, pipes, and seals, for signs of leaks or water damage. If you notice damp spots, unusual condensation, or water pooling, address the issue immediately by repairing or sealing the affected areas. Prompt action can prevent bigger problems down the line and keep your system functioning efficiently.
5. Schedule Routine HVAC Maintenance
Regular maintenance is key to keeping your HVAC system in optimal condition and preventing issues like mold buildup, reduced efficiency, and poor air circulation. Schedule professional HVAC inspections at least once a year to ensure everything is functioning as it should. These checkups typically include ductwork cleaning, filter replacement, and performance testing, all of which contribute to better air quality and energy efficiency while extending the lifespan of your system.
When to Ask For Help for Cleaning Mold in Air Ducts?
Trust matters when it comes to tackling mold in air ducts. At Bob’s Air Conditioning, we bring over 40 years of experience, comprehensive services, and a steadfast commitment to quality and integrity. Our licensed and insured team is here to ensure your home’s air is clean and safe. In addition to expert mold remediation and ductwork, our services include AC repair and installation, furnace installation and repair, mini-split AC installation, and heat pump installation. We offer a transparent process that keeps you informed every step of the way, making sure your entire HVAC system is in optimal condition.
Don’t let mold compromise your health or home—contact Bob’s Air Conditioning today for expert ductwork services and breathe easier knowing you’re in the best hands. Contact us now to schedule your consultation!
Ultimate Comfort Awaits